Insert Image

When inserting images, you have different options on how to include an image:
•File
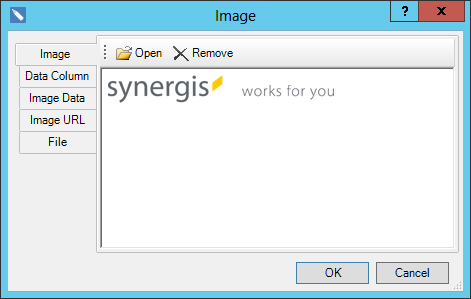
By means of the option Image option, the image is opened directly via the Open button. This means that the image is embedded directly in the template.
|
ATTENTION! This option is not recommended for large images, as it affects the rendering time of the report. |
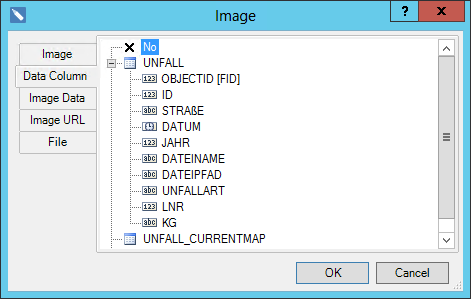
Via the option Data column you can insert images that are stored in the table. To do this, the corresponding field in the data source must be selected.
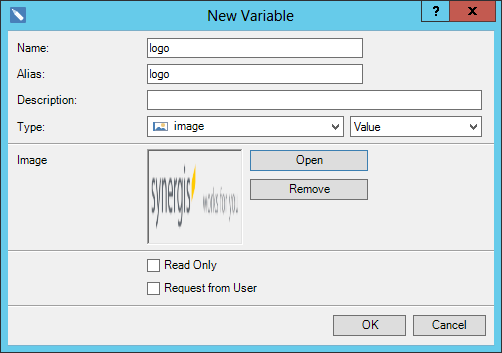
Via the option Image data option, images can be included as variables. For this purpose it is necessary to create a new variable of the data type Image.
|
Use this option only for images smaller than 100KB. |
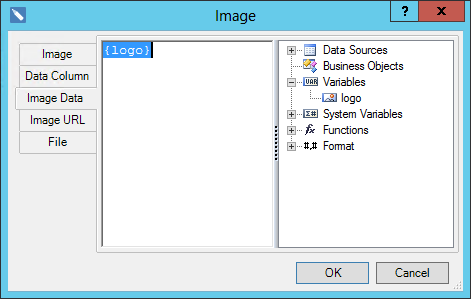
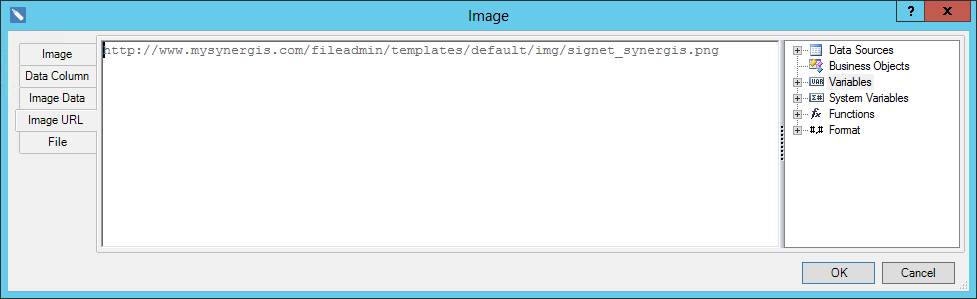
This option allows you to include an image via a hyperlink. Via a hyperlink e.g. a WebOffice map image can also be included using synservice.
|
You can find more information about this in the chapter Integrate map image via synservice. |
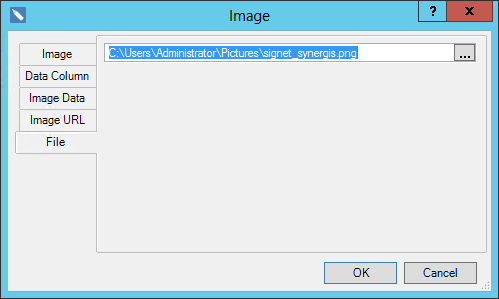
Via the option File an image can be inserted via an absolute path.
|
ATTENTION! This option should only be used if the template is not passed on for other workstations, otherwise the path of the image is no longer correct. This will cause an error when generating the report. |