Configure Print templates

To use the Configure Print templates wizard, you must have already loaded the project configuration.
Below you will find detailed information about each step in the wizard.
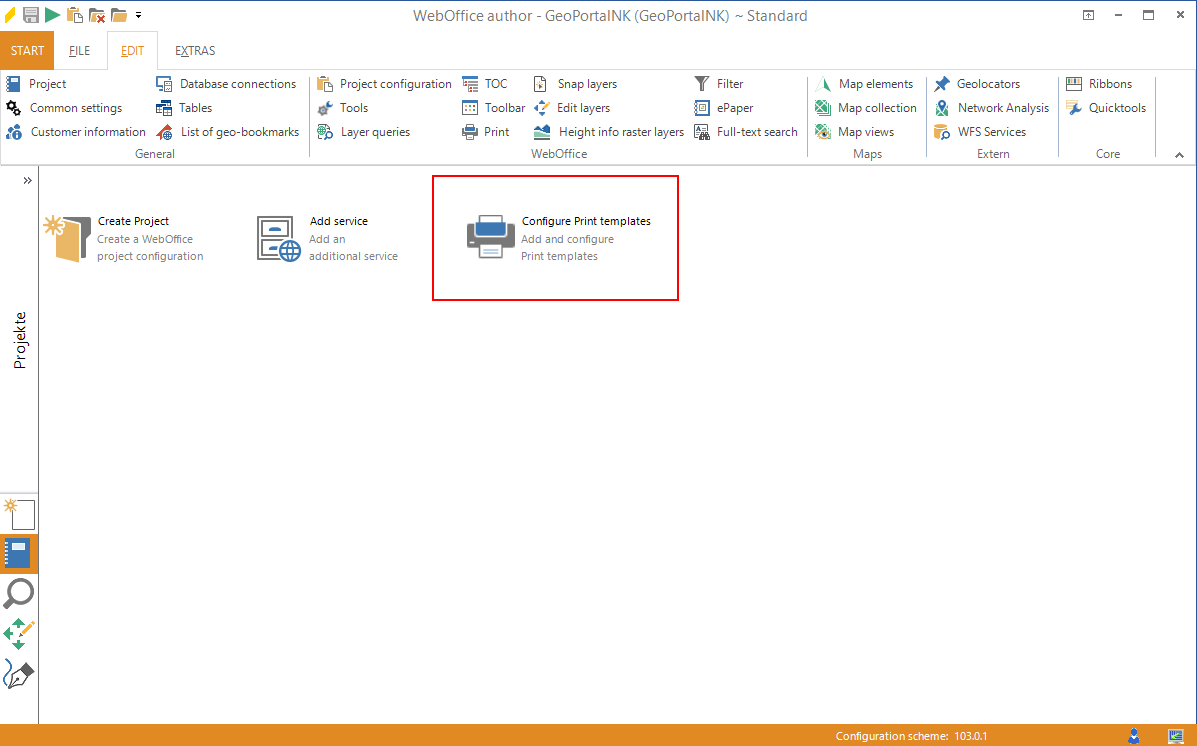
Starting the wizard:
Select the category projects in the left toolbar, then choose Configure Print templates.
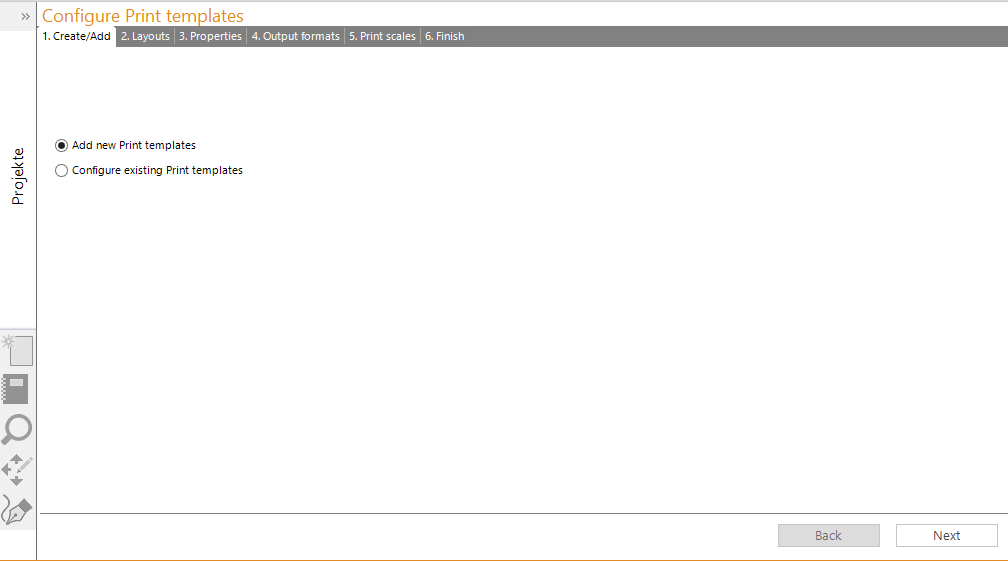
Create a new or configure an existing template:
You have the ability to add a new template to your project or to edit the settings you have already set.
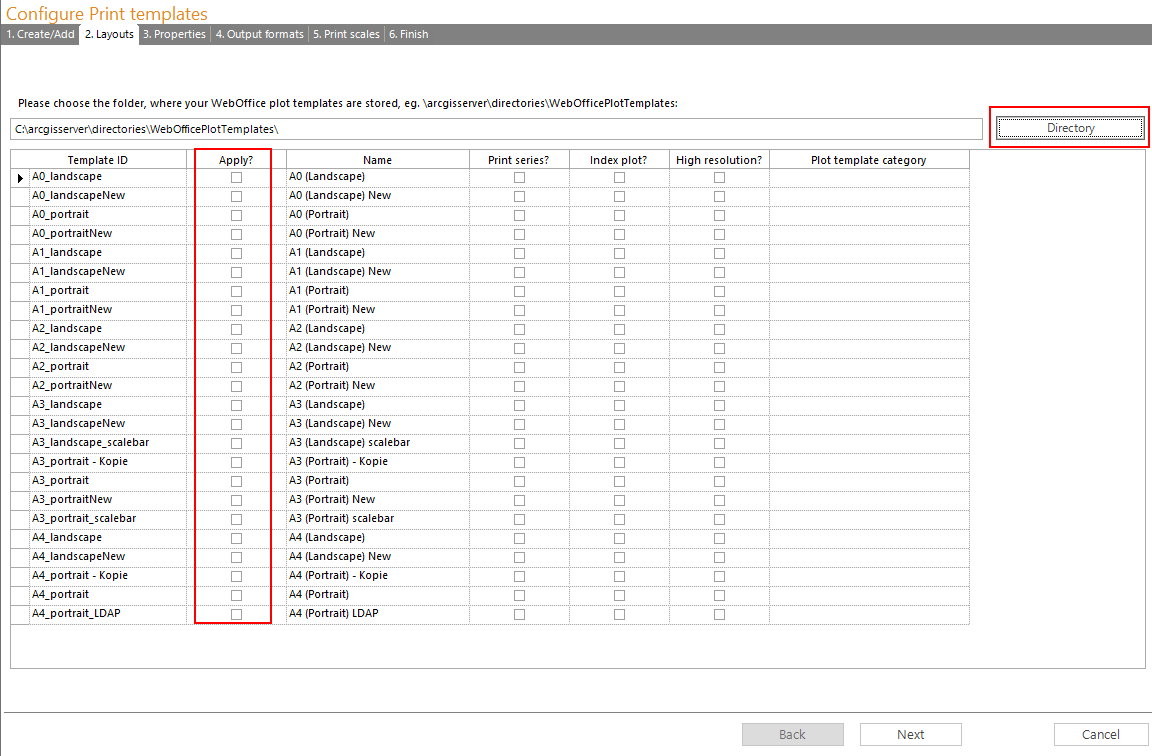
Importing the templates:
First select where your print templates are stored. Only *.layout files (except *_overview.layout and *_legend.layout) from the directory will be listed.
Once the directory is imported, you can select which templates will be integrated into your project. You can also choose whether the template will be released with High resolution, Index plot and Print series- functionality. To summarize the templates, you can define categories.
|
Make sure you have the necessary access rights. |
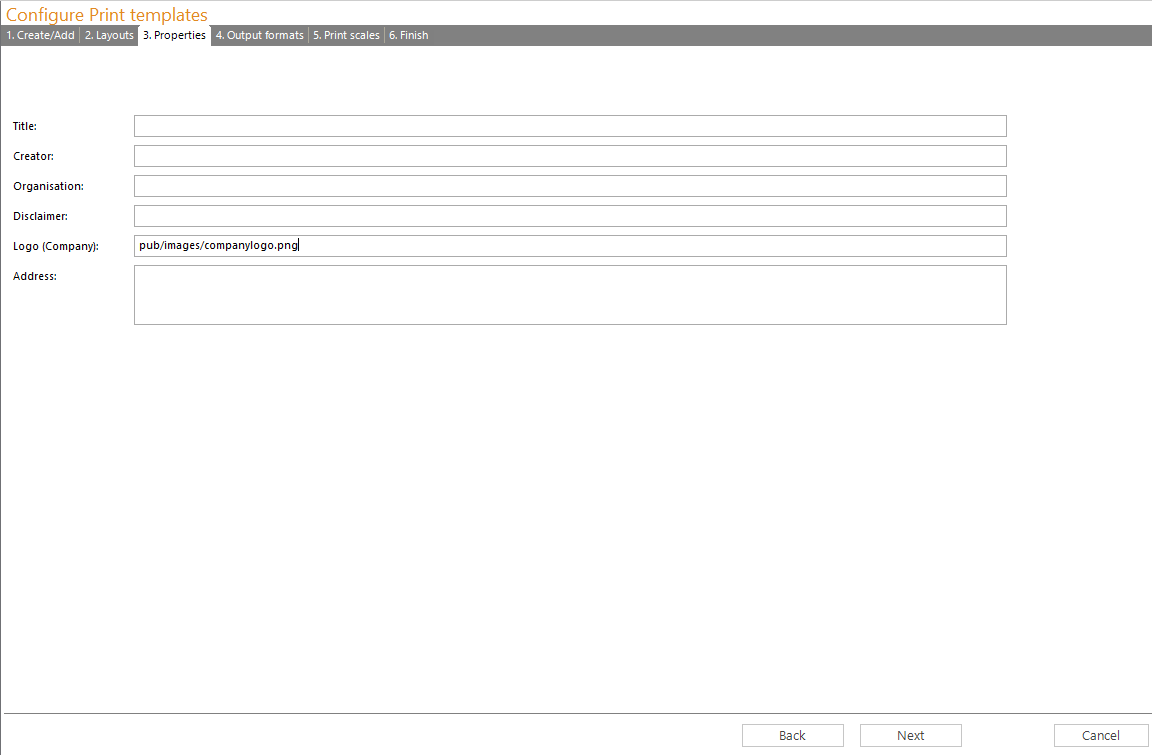
Enter Metadata:
Here you can enter company information that will be included in the print.
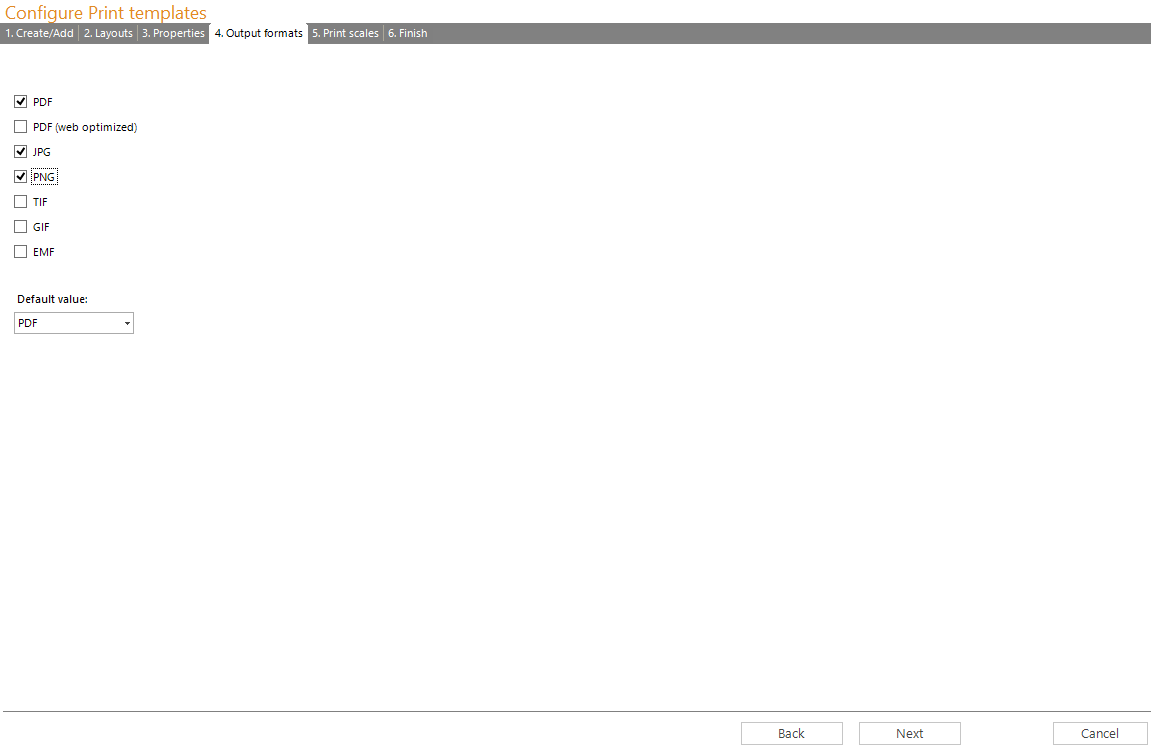
Define Output formats:
Please define in this step in which file formats the print is allowed to be created.
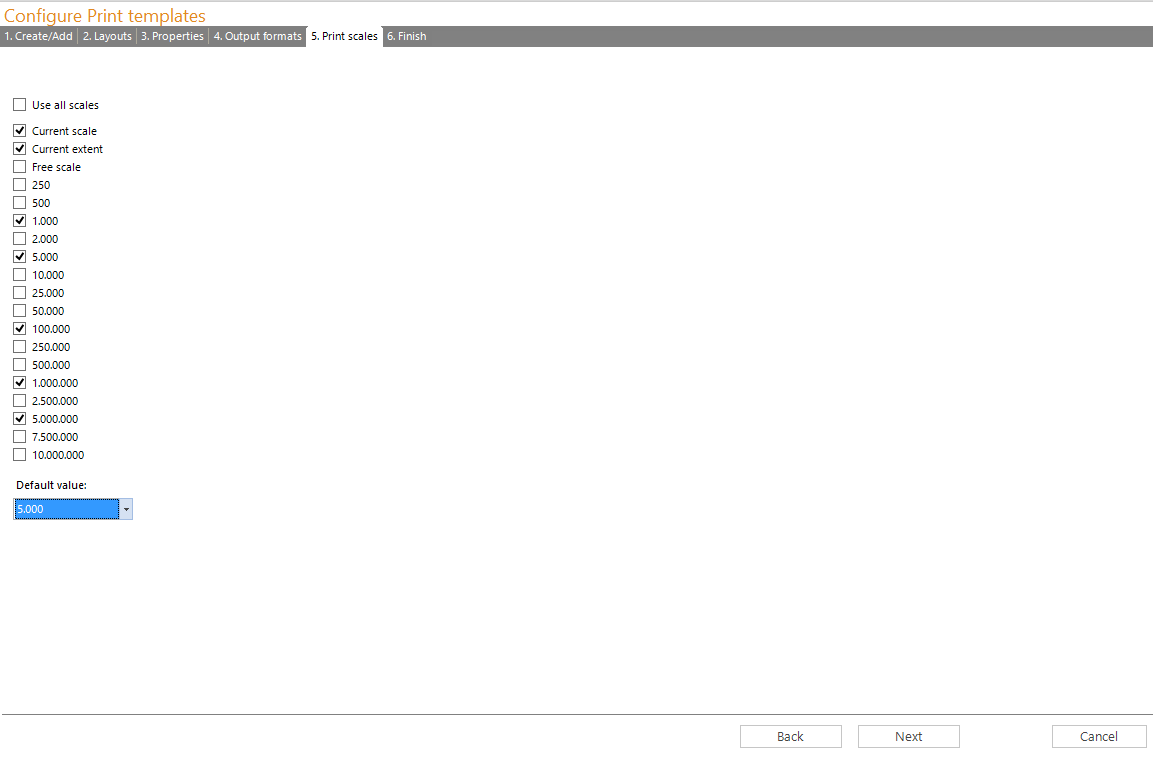
Define Print scales:
At this step choose in which scales the print can be created.
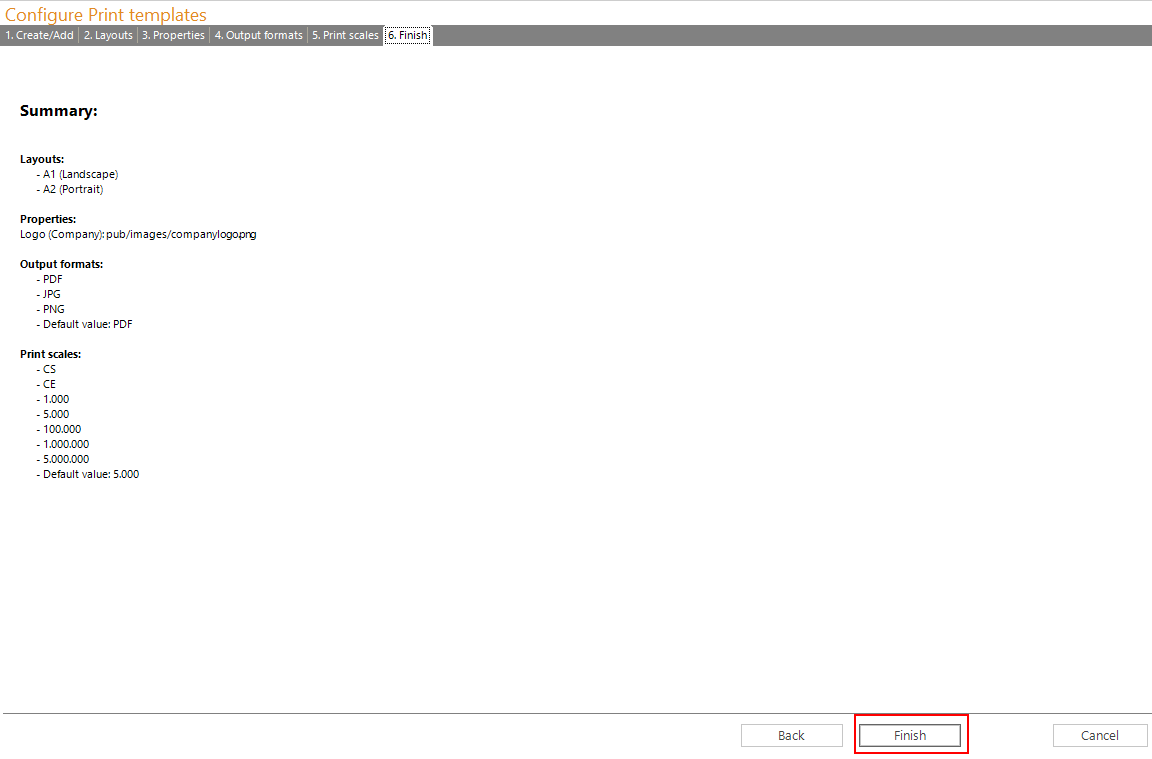
Finish:
After all settings have been made, you will get a summary. Press Finish if the information is correct.
You have to reload the project-resources for the project in SynAdmin before you can use your new print templates.