Insert Image |
  
|
Insert Image |
|
When using the Image component, you have different option how to embed the image in your template:
•Image
•Data Column
•Image Data
•Image URL
•File
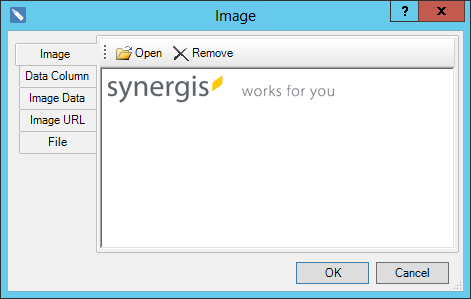
1. Image
Click Open to insert an image. This option embeds the image directly into the template.
Attention: Don't use this option for large images, because it affects the rendering time of your report.
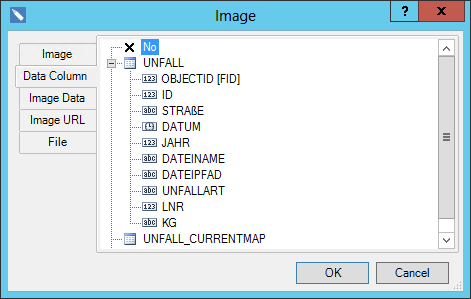
2. Data Column
This option is used to load images from a data field. Specify the data field from that the image will be loaded.
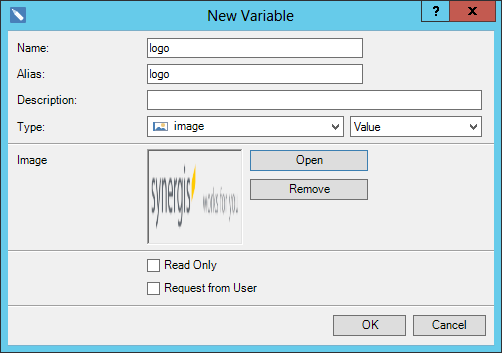
3. Image Data
Using the Image Data property it is possible to load an image from the report code, for instance as variable. This requires to create a new variable from the data type image. After loading the image will be saved in the report code.
Attention: Do not use this way to output images with the size >100kb. This can be critical for speed of working with the report designer.

4. Image URL
With the option Image URL an image can be embedded via a hyperlink. Use this option to insert images from WebOffice projects as Service. More details on that can be found in the chapter Insert Maps via synservice.

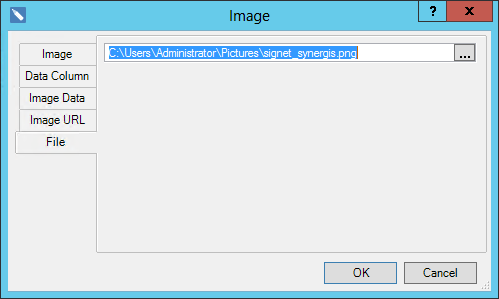
5. File
Inserts an image from a file. The image is embedded via an absolute path.
Attention: Don't use the option if you want to use the template on other work stations, unless the image and the path where it is stored are identical on the other work station. If not, the rendering of the report will throw an error.