Create Project |
  
|
Create Project |
|
After starting the WebOffice author and configuring an ArcGIS Server publisher account, a WebOffice 10.7 SP1 project can be created. Use the wizard Create Project for quick and easy project creation.
See also the following video tutorial on this topic:
New Project Wizard
See also the following video tutorial for WebOffice author (ArcMap Extension) on this topic:
WebOffice author: Create a basic WebGIS project in one minute
Start the Wizard:

Start the wizard "Create Project"
Step 1: Project ID
Enter a project ID for distinctive identification of your projects. The WebOffice 10.7 SP1 project will be started in browser using the project ID as an URL parameter (e.g. project=MyWebOfficeProject). Be sure not to use any special character, german umlauts or spaces in the project ID.
The project name will be displayed in the title bar of the WebOffice author and the browser.
Optionally configure a user and a password to activate User Management light.

Wizard "Create Project" - project settings
Click Next.
Step 2: Map Service
Choose an already existing ArcGIS Server account (or create a new one). By clicking the button Get services all available services (i.e. started services) will be listed. Automatically, the map service will be selected which is based on the ArcMap document that is opened in the background. On the right bottom side you will see a preview of the selected map service.

Wizard "Create Project" - map service
Optionally, it is possible to change the displayed map service name in the field Service name (GUI) (The proposed name is made up of the names of subfolders in the ArcGIS Server and the name of the map service).
Click Next.
Step 3: Geometry Service
Now it is necessary to add a geometry service to the WebOffice 10.7 SP1 project configuration.
The geometry service is create automatically with the installation of ArcGIS Server in the folder Utilities. Initially, this service is stopped. You can start it directly via ArcGIS Server or via WebOffice author by choosing "Yes" at the following message.
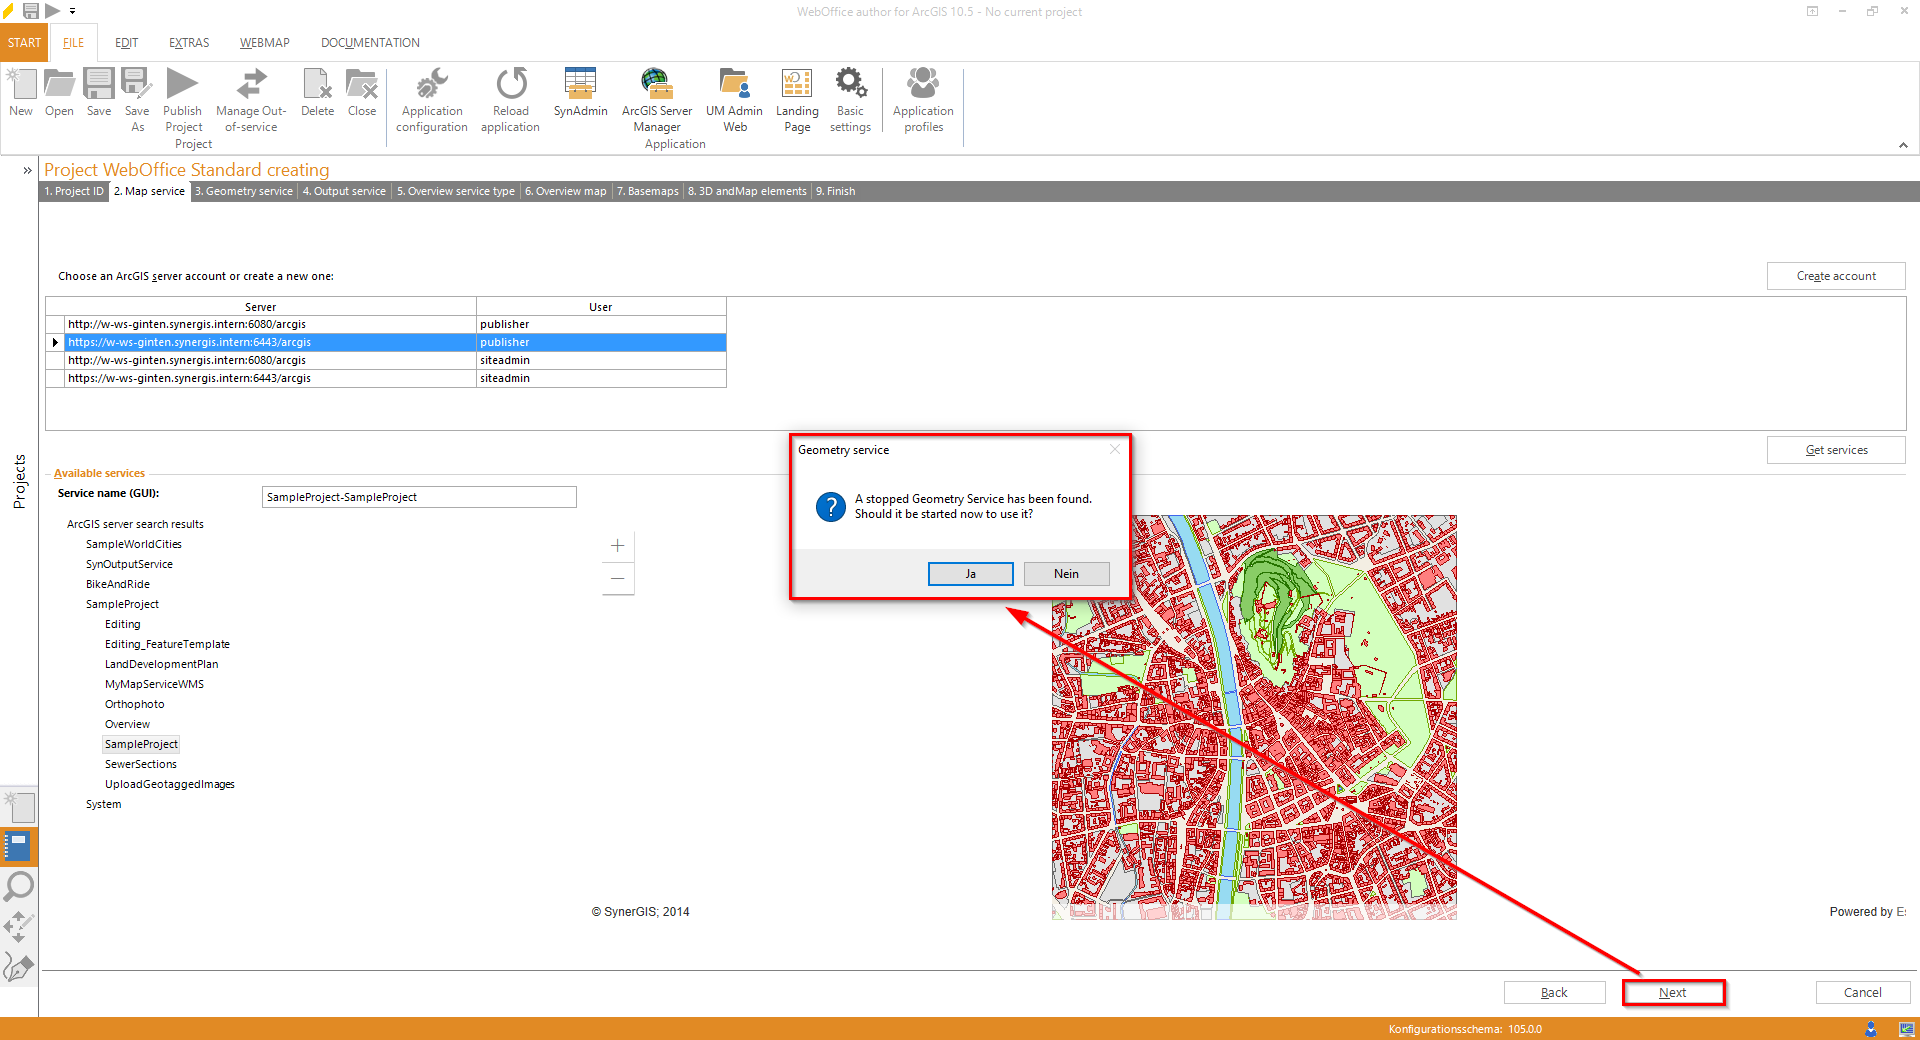
Wizard "Create Project" - Use stopped Geometry Service
In case the geometry service has already been started, WebOffice author will recognize the service automatically. After confirming the notification shown below, the service may be added to the project configuration.

Wizard "Create Project" - using the geometry service
Click Next.
Step 4: Output Service
Now add an output service to the WebOffice 10.7 SP1 project configuration which is necessary for the tool "Print" and "Word Export".
The SynOutputService has been created during the installation of WebOffice 10.7 SP1. Initially this service is stopped. In case the SynOutputService has already been started, WebOffice author will recognize the service automatically. After confirming the notification shown below, the service may be added to the project configuration.
Note: See details in chapter Publish the SynOutputService.

Wizard "Create Project" - using the SynOutputService
Click Next.
Step 5: Overview service type
WebOffice 10.7 SP1 projects can be configured with overview maps. Please select in this step an overview service type:
•No Overview map
•ArcGIS Server Map Service
•ArcGIS Online (preconfigured)
•OpenStreetMap

Wizard "Projekt erstellen" - Übersichtskartentyp
If you select "No Overview map", step 6 will be skipped.
Click Next.
Step 6: Overview Map
WebOffice 10.7 SP1 projects can display an overview map. Therefore, select an existing ArcGIS Server account (or create a new one), click the button Get services and choose the desired map service.
Note: Only a map service which has not been configured in the map collection of the WebOffice 10.7 SP1 project configuration before can be configured as a map service for overview map.

Wizard "Create Project" - overview map
Click Next.
Step 7: Basemap
Decide whether you want to add an external basemap or not.
Note: WebOffice author needs a working internet connection to access external services.

Wizard "Create Project" - basemap
Step 8: Layer List and Map Elements
Additionally, it is possible to show a north arrow, a scale bar, a copyright text and/or 3D functionality in the WebOffice 10.7 SP1 project. Check the desired elements and edit them as you like.

Wizard "Create Project" - configuring a north arrow

Wizard "Create Project" - configuring a scale bar

Wizard "Create Project" - configuring a copyright text
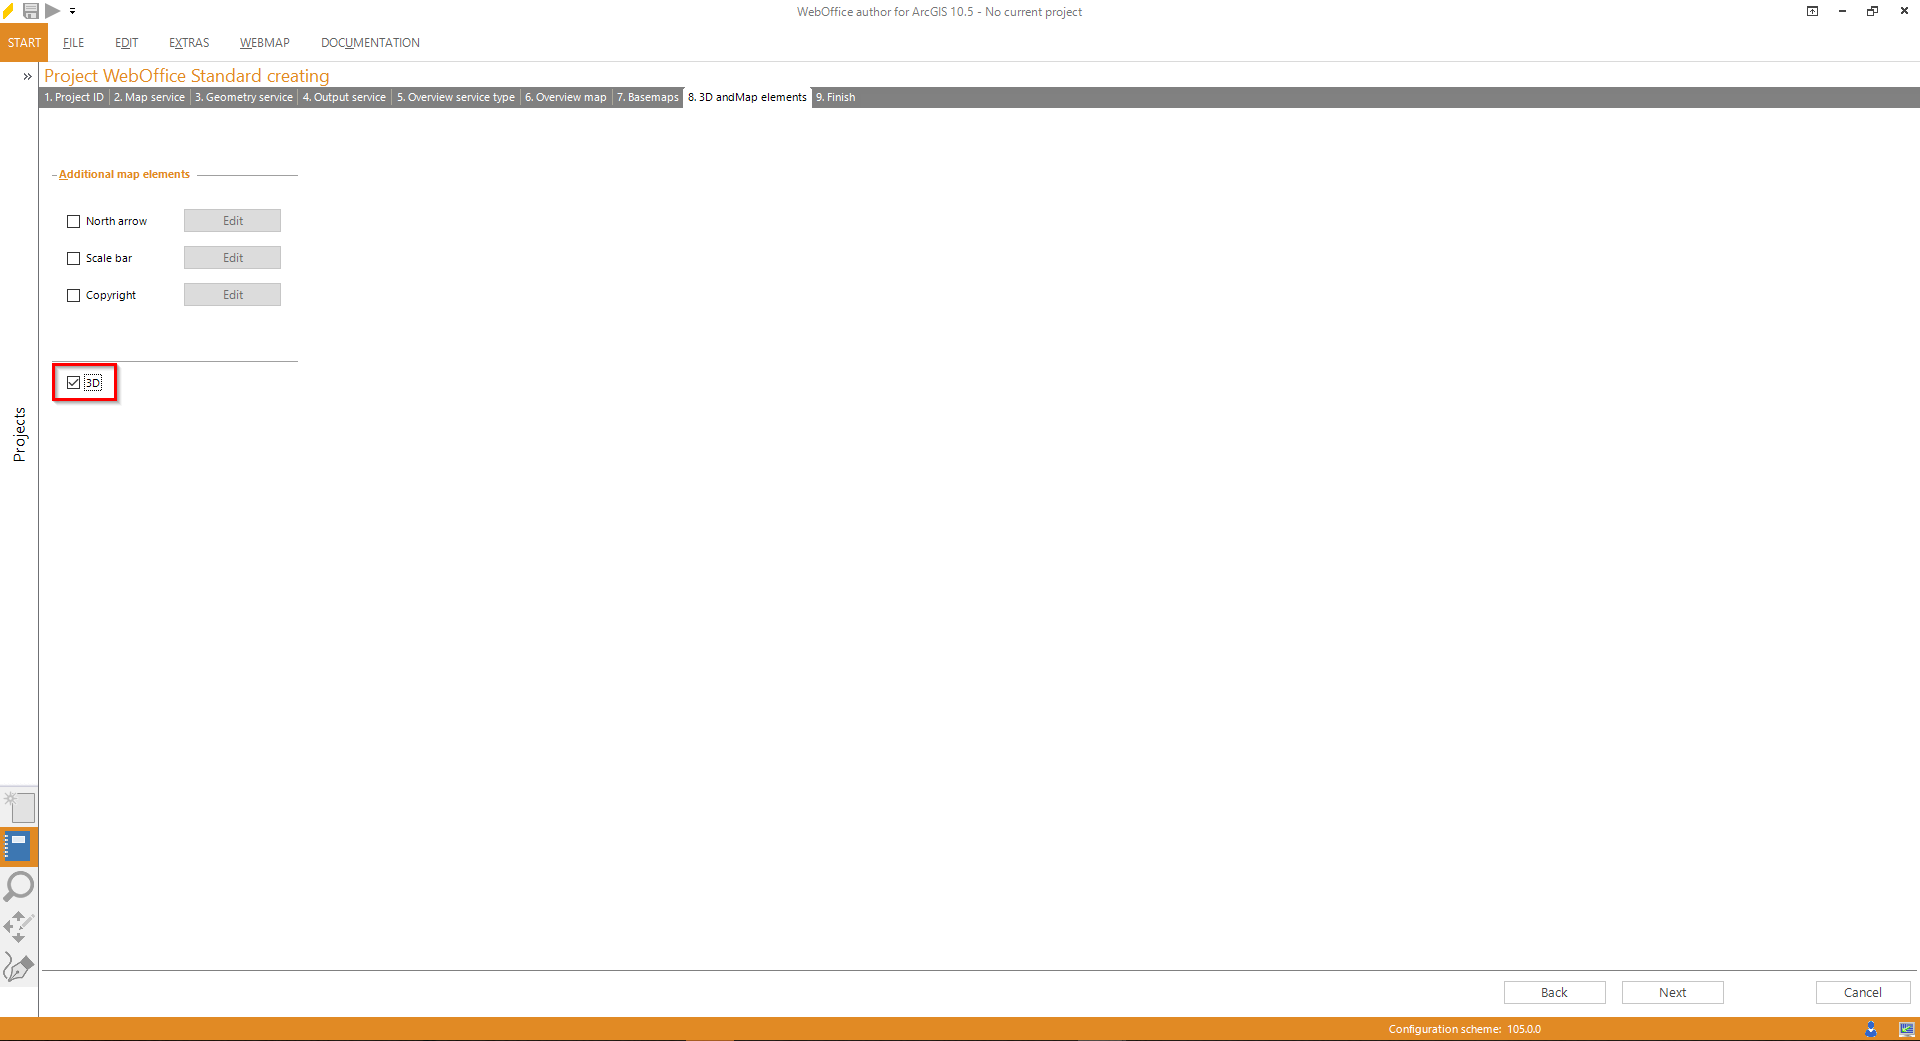
Wizard "Create Project" - configure 3D functionality
Click Next.
Step 9: Finish
WebOffice author shows a summary of the project that will be created.
Click Finish in order to save the project configuration.

Wizard "Create Project" - finish the wizard
