Set queries

This wizard helps you set up all WebOffice 10.9 R5 queries (MapService queries, FeatureService queries, WFS queries, and JDBC table queries).

Set queries wizard in the WebOffice author standalone menu
For a quick overview on configuring a basic hierarchical query in WebOffice 10.9 R5 see the following video tutorial:

Set Query Wizard
The first step is to define the service for which the queries are to be configured. The service type can also be filtered here.

Selection of the service for which a query is to be configured.
Depending on the service type, you can specify in step 2 whether layer searches or table queries are to be configured.
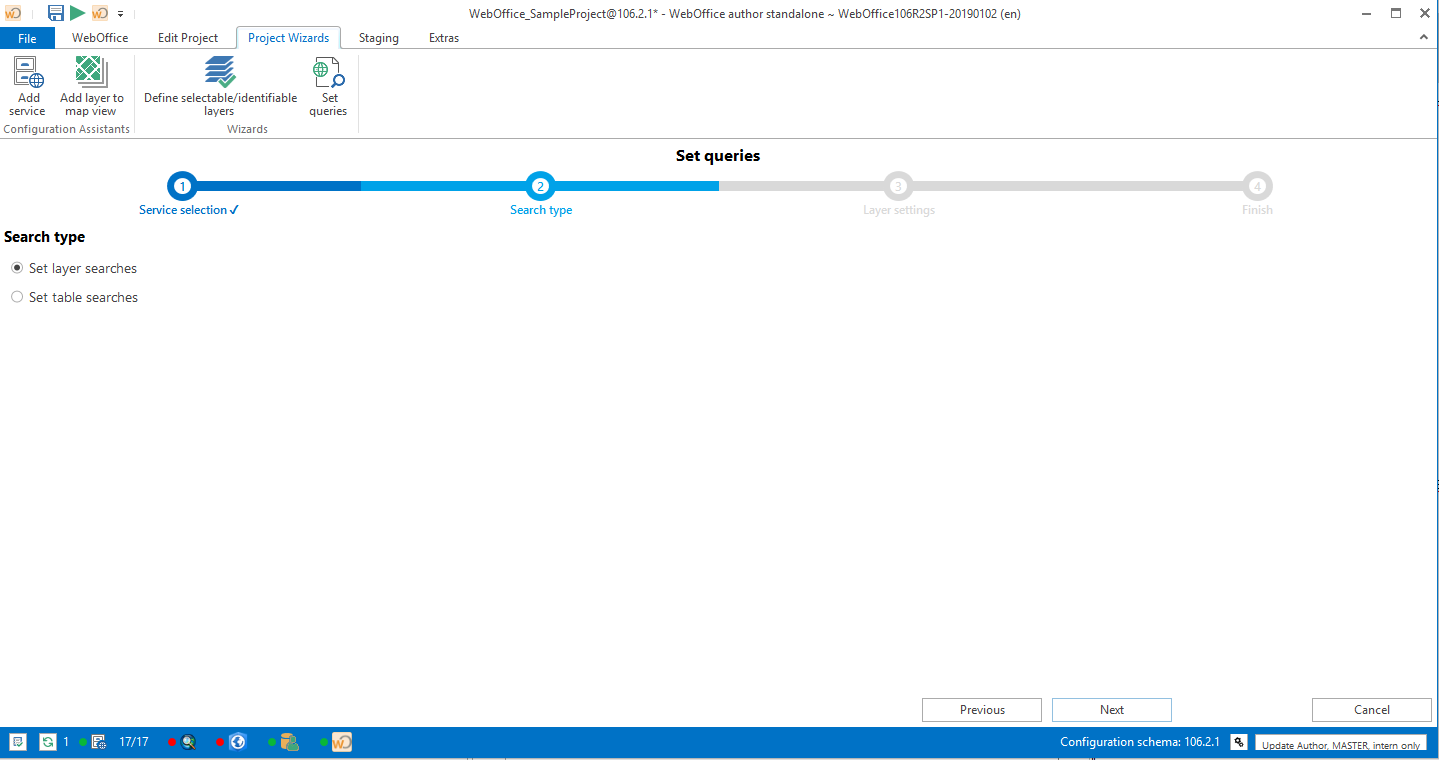
Determining the type of query
The next step is to configure the queries yourself. The individual layers of the service are listed for this purpose, whereby separate queries can be configured for each layer by clicking on Set queries.

Specifying queries
By clicking on Set queries, a separate mask opens for the search configuration of the respective layer. Here you can create a new search with Add new search or select and edit an existing search with Select an existing query.

Add new queries
You can define a name for the query and a category under 1).
2) deals with the query logic, which can contain several conditions for the search. Each condition contains a query field for which the condition type (= or LIKE), the type of query field, the type of relationship, a hierarchy level, the obligation, the sort mode, and an alias can be specified. You can use New condition to add further query conditions.
Under 3) you can assign an existing query result to the query or create a new query result for the query. To do this, select the fields to be displayed in the query result (Show field?). For each field you can assign an alias name, sort order and sort mode.

Specifying a new query
After the settings are checked again in step 4, the changes can be completed with Finish.