MGRS Identify

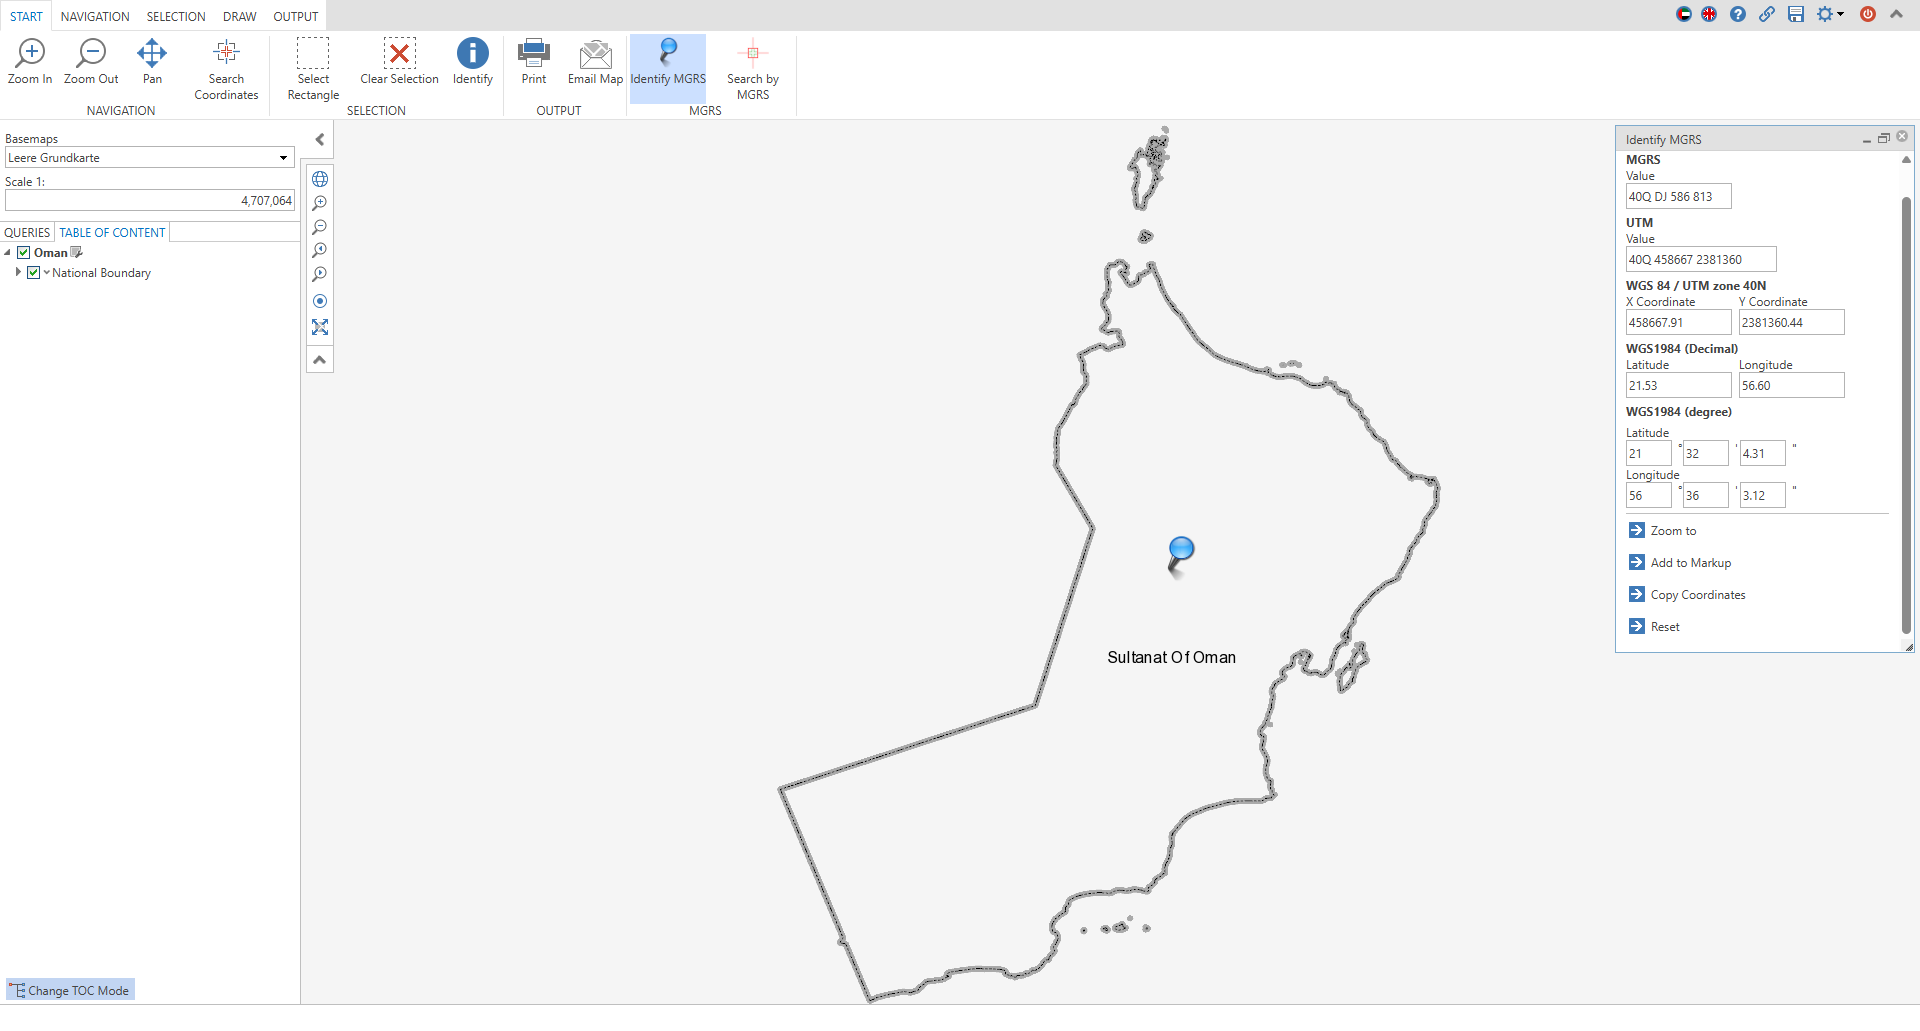
This custom tool allows end users to set a coordinate marker with a simple click on the map. After placing the marker, the corresponding coordinates are automatically displayed in the tool form. These are initially geographical coordinates in WGS1984 format (latitude and longitude). In addition, these coordinates are automatically converted to MGRS format, which is also displayed in the tool.
Optionally, the set coordinates can be labeled and saved as a markup or redlining. This is done using the "Add to Markup" button. To better locate the set position on the map, you can zoom directly to the coordinates using the "Zoom to" button. The zoom level corresponds to the standard scaling of WebOffice defined in the project configuration.
For convenient reuse of the coordinates, the "Copy Coordinates" function is also available, which allows the coordinates to be copied directly to the clipboard. In addition, a snap layer can be selected to precisely position and label the marker on an existing vertex or markup on the map. This function enables exact placement and supports user-friendliness when working with geodata.
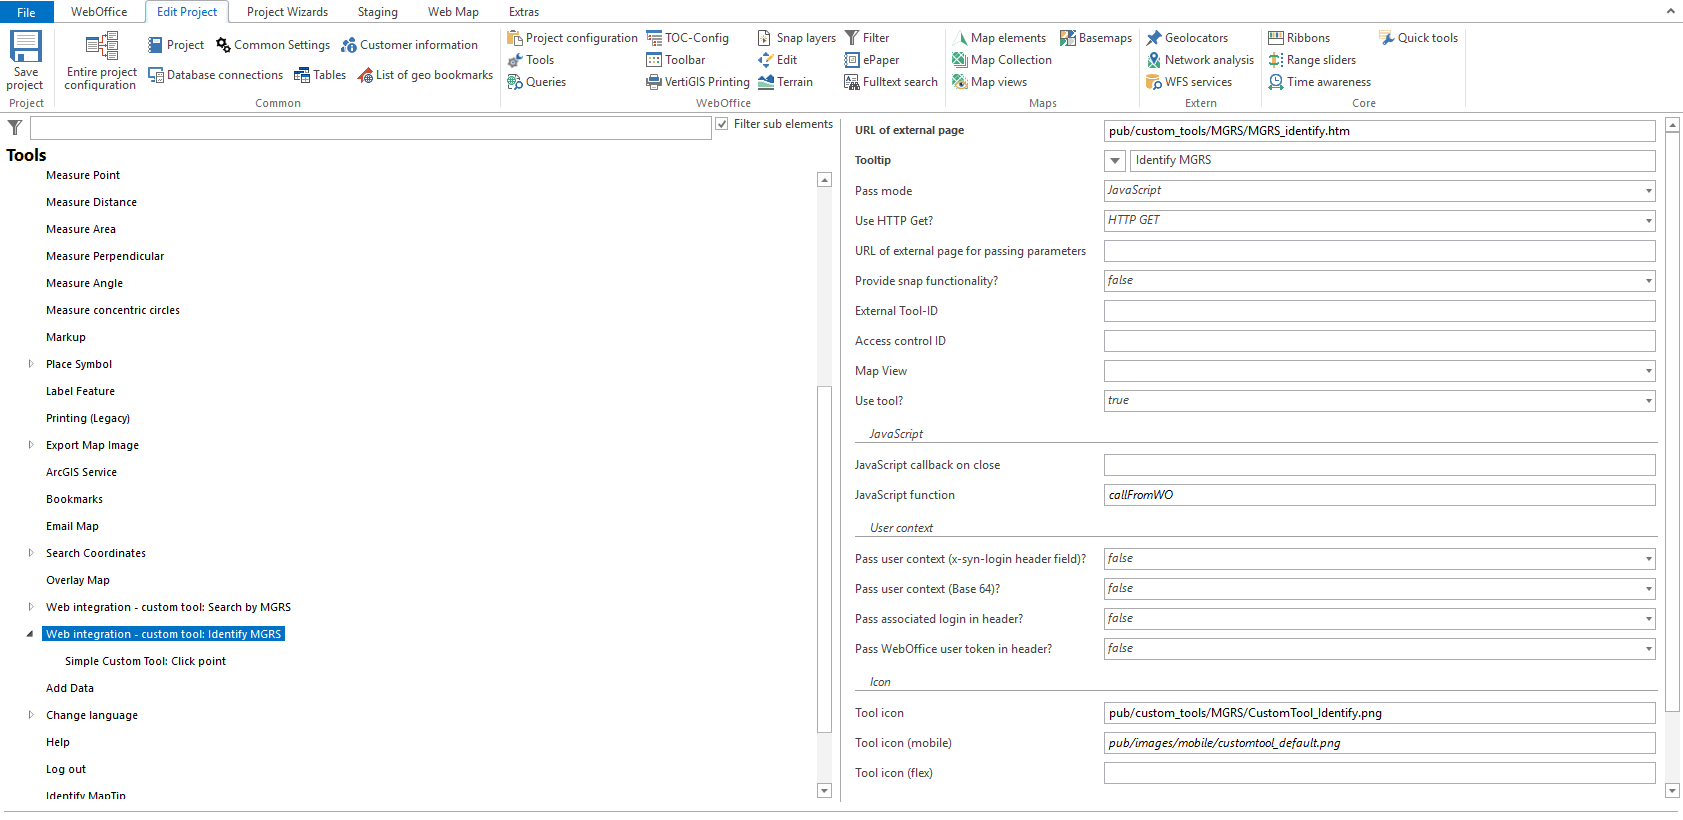
To do this, configure the Custom Tool MGRS_identify.htm from the C:\Tomcat\webapps\<WebOffice application>\pub\custom_tools\MGRS directory as follows:
(1) Web-Integration - custom tool
Configure a custom tool from the Web Integration tool group with the following parameters:
•Url of the external page: pub/custom_tools/MGRS/MGRS_identify.htm
•Tool icon: pub/custom_tools/MGRS/CustomTool_Identify.png
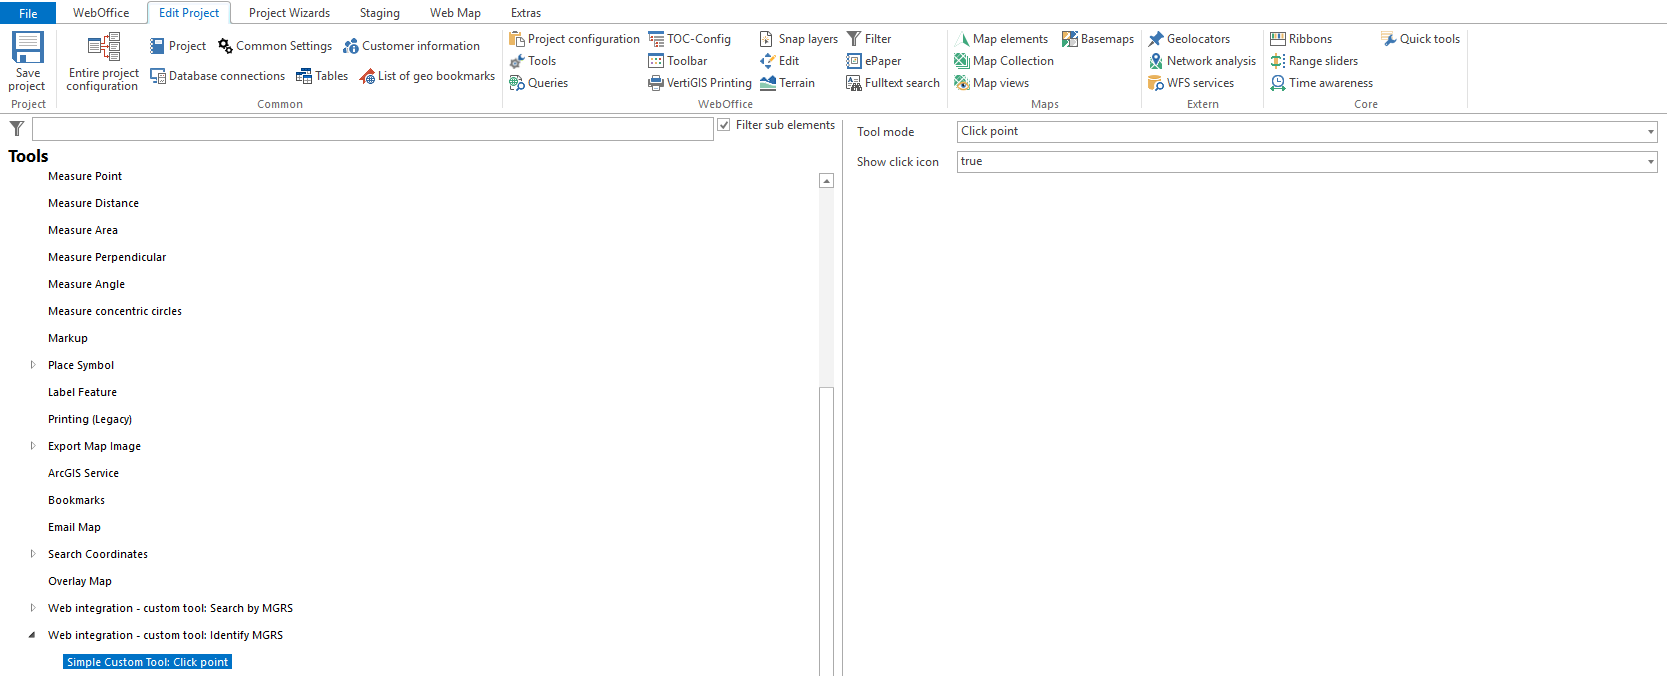
(2) Simple Custom Tool
Configure a Simple Custom Tool for the custom tool.
|
For more details on configuring a custom tool, refer to the chapter Web Integration - Custom Tool . |