Create and Edit Print Templates

The WebOffice installation package includes a variety of predefined layouts in all standard paper sizes (A4, A3, A3, A1, A0), both horizontal (landscape) and vertical (portrait).
If you want to create a new layout, it is recommended to copy an existing layout file (.layout) and adapt it according to your requirements. The advantage here is that the alignment of the data frames, logo fields and user fields are already appropriately set for the layout size.
To edit a layout template, proceed as follows:
1.Open the WebOffice_plot_author.mxd
By default, this is located on the DVD in the directory DVD\Software\WebOffice directories\WebOfficePlotTemplates as well as after the installation under ...\arcgisserver\directories\WebOfficePlotTemplates.
2.Make sure that the layout view is activated. In the layout view you see two data frames: print and overview. These data frames are automatically assigned by WebOffice when running a plot and filled with the desired map services.
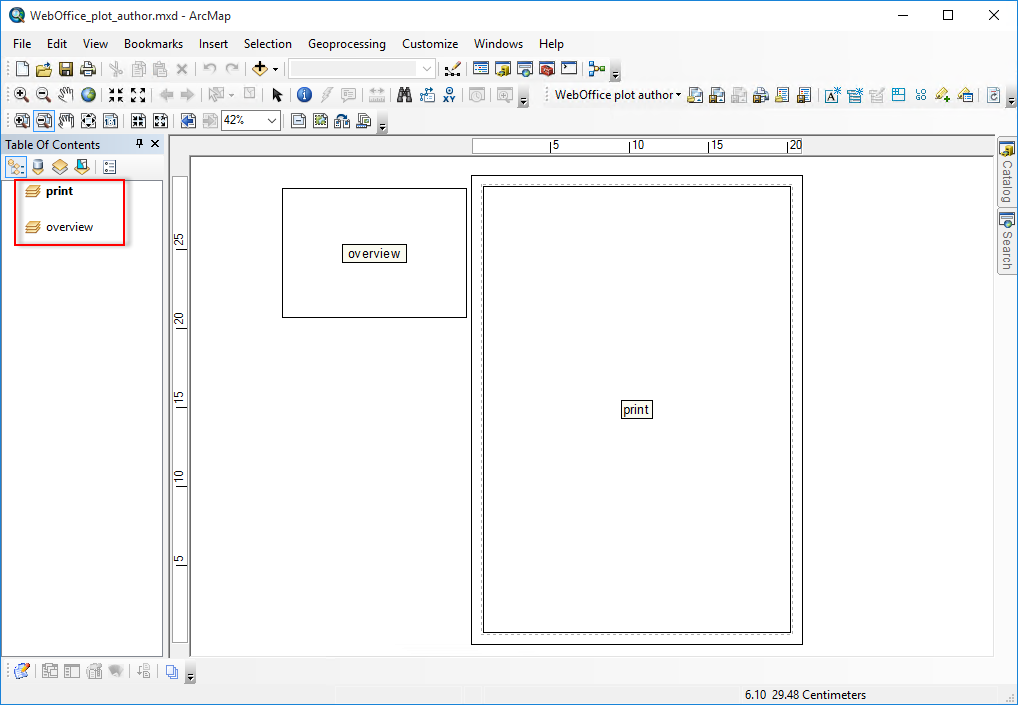
3.Open an existing .layout file using the command Load layout from the WebOffice plot author toolbar.
![]()
4.Adjust the layout according to you requirements.
When customizing the data frames, please make sure that the following conditions are met:
•The data frames on the layout must not overlap.
•The largest data frame must be the print data frame, because the main map service passed by WebOffice is passed to the largest data frame.
5.Make sure that the data frame print is the active data frame and save the layout using the button Save layout or Save layout as...
6.Close ArcMap without saving the WebOffice_plot_author.mxd.
|
If a .layout file has been renamed or a new .layout file has been added to the PlotTemplate directory, it is necessary to restart the WebOffice Extensions Service. If a layout has only been changed in terms of content, the change will already be applied when the WebOffice project is restarted or a new plot is called. |