Create WFS query

In order to use the wizard Create WFS query you have to open a project configuration.
Go through the chapter to get detailed information about every step in the wizard.
Start the wizard:
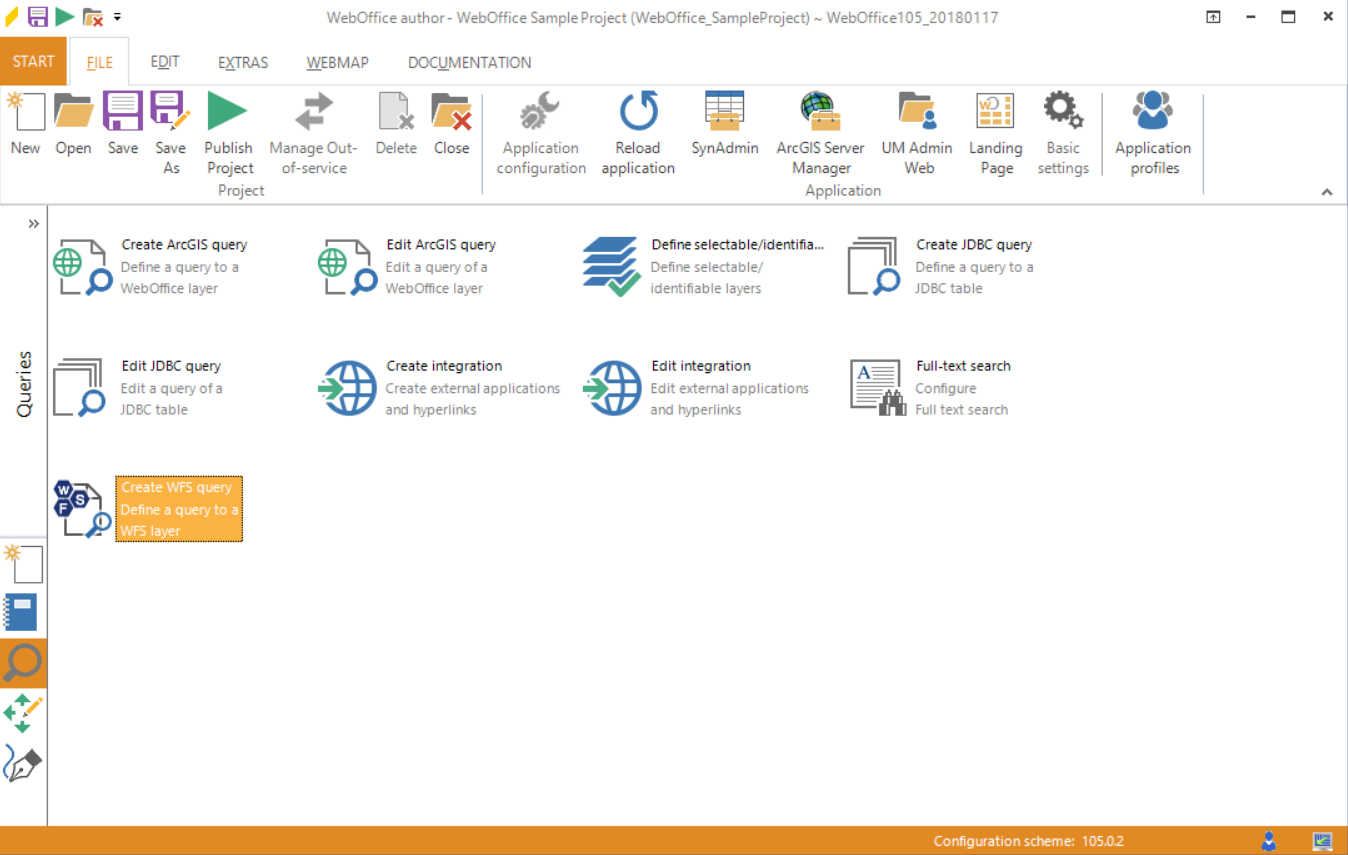
Starting the wizard Create WFS query"
Step 1: WFS layer
Select the WFS layer you want to be used for creating a WFS query. At first add a WFS Url, before you can press the button Retrieve metadata to get a list of all layers which are available in the WFS-service. If necessary also type in the correct username and password. Then choose your layer.
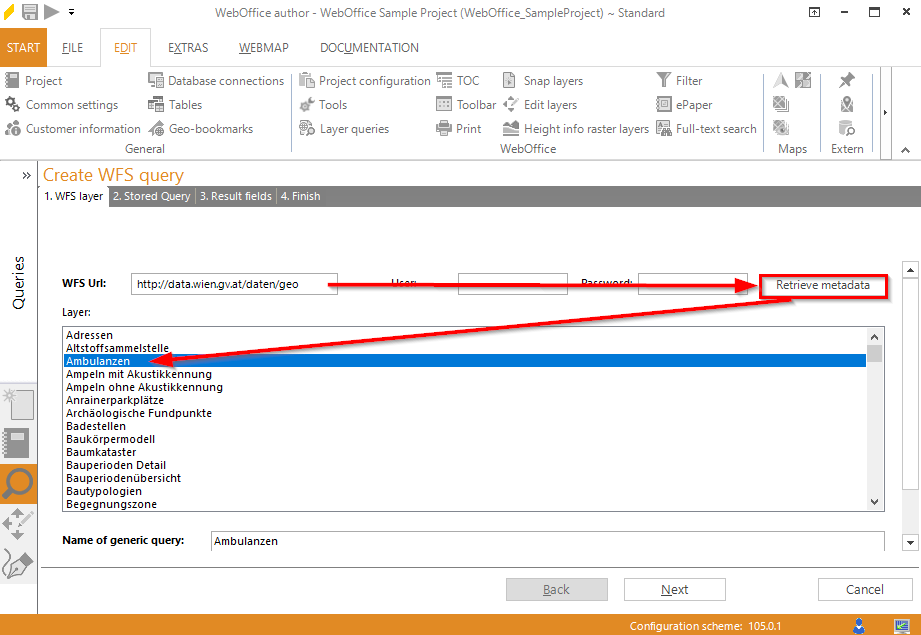
Wizard Create WFS query - WFS Layer
Step 2: Stored Query
The name of the WFS layer will be also used as Stored Query Name by default. Change the name if you want to configure more than one query on this WFS layer.
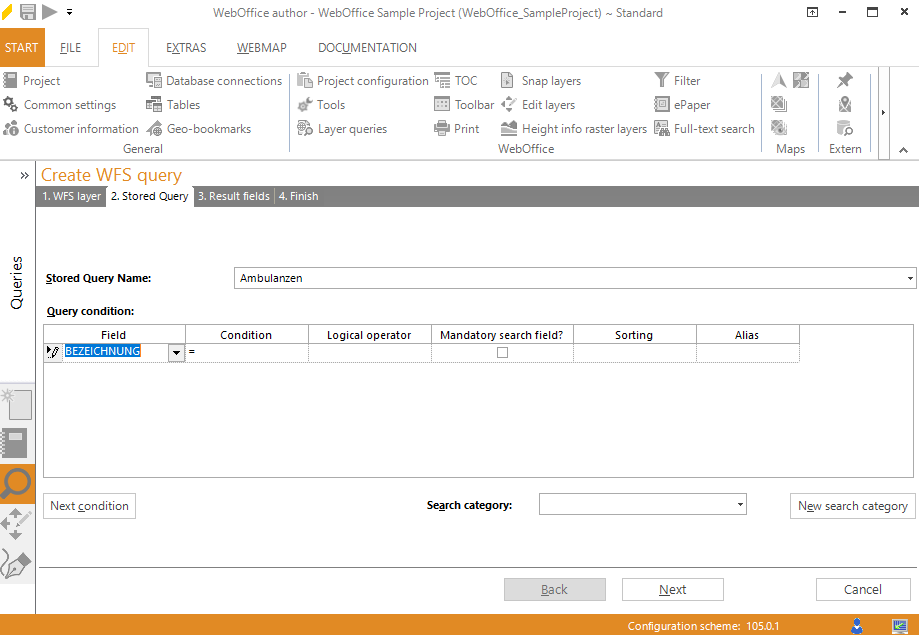
Wizard Create WFS query - Stored Query
In the query condition dialog choose a field of the WFS layer that shall be used for the query and define a condition. The availability of condition operators is based on the field type, e.g. the between operator can only be selected with numeric fields.
• Text input box: In the WebOffice 10.9 R5 a text input field will be available.
•Value list: In the WebOffice 10.9 R5 client a value list will be available.
Note: Use value lists for field that contain less than 1000 values.
•Value list with auto complete: In the WebOffice 10.9 R5 client there will be a text input field available which also provides suggestions. As soon as the user enters the first two letters of the search term, all possible search values will be displayed.
Note: Use value lists with auto complete if the field contains more than 1000 values or if the number of values is unknown.
The WFS query supports hierarchical search. Choose the logical operator if you want to use OR. By default the logical operator AND will be used.
In case you want to configure a search field to be mandatory, check the box in the according field Mandatory search field?.
Add the layer query to an existing search category or create a new one by clicking the button New search category.
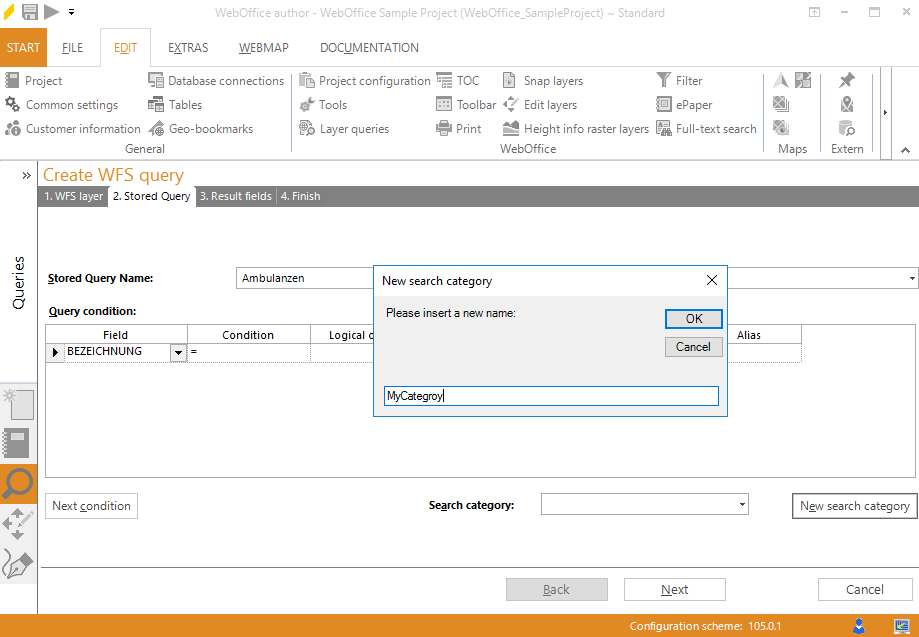
Wizard Create WFS query - Stored Query
Click Next condition if you want to add another field to your query.
Otherwise click Next in order to proceed to next step.
Step 3: Result fields
After creating the search fields and conditions, now the result fields and their representation have to be defined.
Change the result name if you do not like the default name (WFS layer name).
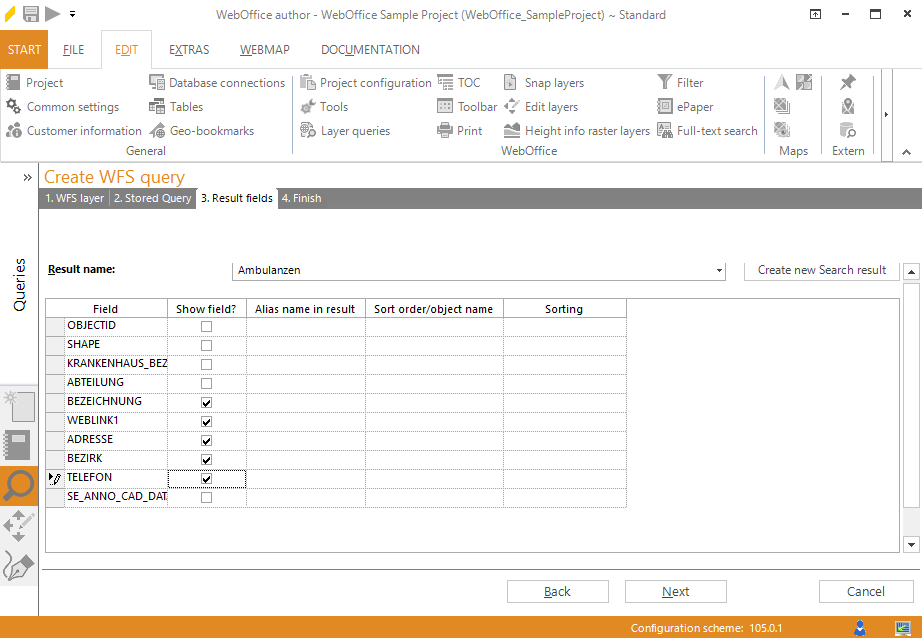
Wizard Create WFS query - Result fields
In case you want to display all fields besides one or two, uncheck the unwanted fields in the column Show field?.
Otherwise if you want to display one or two fields only you can first click No Fields and the select the desired fields again.
Optionally define alias names for your result fields in the column Alias name in result (by default the field name of the layer resp. the ArcMap alias name).
In the column Sort order/object name it is possible to define the way how attributes will be sorted in the search result. Select up to 5 fields to be sorted (Start with 1 (top priority), then 2 and so on). The value defines that the field will not be used for sorting at all.
Note: The order of the column Sort order/object names also defines the object name in the result view when selecting on more than one layer. The displayed name of the object will be created by merging the sorted fields. The field with the value 1 will be the first part of the object name. Example: Assuming, Address data contains the field STREET with sort order 1 and a field STREET_NR with sort order 2, then an object with STREET = Oxford Street AND STREET_NR = 10 will be displayed as Oxford Street 10.
If the sorting mode is set to fieldtype then the sorting will be done according to the field values. Select alphanumeric to achieve an alphanumeric sorting with fields of data type string that also contain some numeric information, e.g. parcel numbers or street names with numbers.
Click Next.
Step 4: Finish
Der WebOffice Author zeigt eine Zusammenfassung der mit dem Assistenten erstellten Suche an.
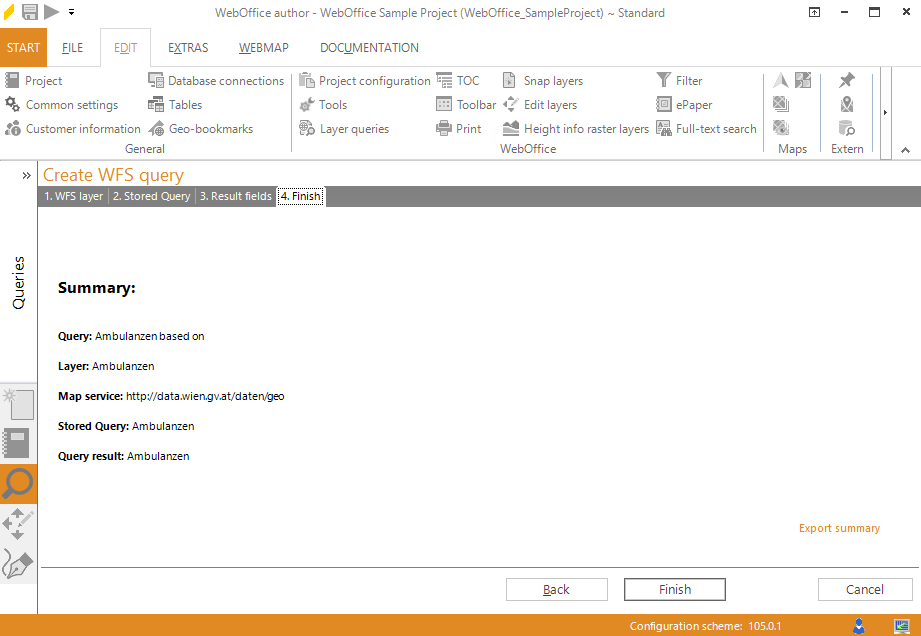
Assistent WFS-Suche hinzufügen - Fertigstellung
Click Finish to save the WFS query.